How to Join a Bitcoin Mining Pool: Step-by-Step Setup
- What you need before connecting
- Step 1: choose a Bitcoin mining pool
- Step 2: create an account and secure it
- Step 3: select the nearest Stratum endpoint
- Step 4: open the ASIC pool configuration
- Step 5: add backup pool addresses
- Step 6: save the settings and verify shares
- Step 7: run a controlled 72-hour test
- Common connection problems
- Frequently asked questions
- Connect one ASIC first
To join a Bitcoin mining pool, you need a working SHA-256 ASIC, a Bitcoin receiving address, a stable internet connection and the pool’s Stratum details. The setup normally takes only a few minutes, but a controlled test is important before moving an entire farm.
This guide explains the complete process: choosing a pool, creating a worker, entering the Stratum URL in an ASIC, checking accepted shares and verifying the first payout. Menu names vary between ASIC manufacturers, but the connection logic is the same.
What you need before connecting
- A Bitcoin ASIC. Antminer, WhatsMiner and other SHA-256 devices can connect to a compatible Bitcoin pool.
- Access to the ASIC web interface. You need the device IP address and administrator credentials.
- A Bitcoin receiving address. Use an address from a wallet you control or another receiving service you trust. Never enter a private key on a mining pool website.
- Pool connection details. Prepare the Stratum URL, port, worker format and password shown by the pool.
- A stable network. Frequent interruptions increase rejected or stale shares and can reduce credited hashrate.
If you are still comparing services, review the best Bitcoin mining pools before changing any ASIC settings.
Step 1: choose a Bitcoin mining pool
Do not choose a pool by total hashrate alone. Compare the payout model, fee, minimum payout, Stratum regions, worker monitoring, account security and support response time.
FPPS usually makes short-term accounting easier because valid shares are credited without exposing the miner to the same pool-luck variance as PPLNS. A low published fee is useful only when the connection is stable and the pool correctly records your work.
If the terminology is new, read what a mining pool is and how pool mining works.
Step 2: create an account and secure it
Some pools use account-based mining, while others use a wallet address as the username. Follow the exact format shown in the pool dashboard.
- Create the account using a unique password.
- Enable two-factor authentication if it is available.
- Add and verify the Bitcoin payout address.
- Check the minimum payout and payout schedule.
- Open the connection or worker section and copy the recommended Stratum endpoint.
Keep recovery codes offline. A pool account displays mining income and controls the payout address, so it should not share a password with an ASIC, email account or exchange.
Step 3: select the nearest Stratum endpoint
A Stratum endpoint normally looks similar to this:
stratum+tcp://region.example-pool.com:3333This is only a format example, not a real Headframe address. Copy the current endpoint directly from the pool dashboard because hosts and ports can change.
Choose the region with the lowest stable latency from the mining location. A geographically close server is often a good starting point, but routing quality matters more than the city name. If the pool offers several ports, use the one recommended for normal ASIC connections unless your network requires another option.
Step 4: open the ASIC pool configuration
Enter the ASIC IP address in a browser on the same network and sign in to the device interface. Common menu names include Miner Configuration, Pool, Mining Settings or CGMiner Configuration.
Most ASICs provide three pool slots. Each slot contains the same basic fields:
| Field | What to enter |
|---|---|
| Pool URL | The complete Stratum address and port supplied by the pool. |
| Worker | The account and worker name in the required format, often account.worker01. |
| Password | The value specified by the pool. Many pools accept x, but do not assume this if the dashboard shows something else. |
Use clear worker names such as s21-row2-01 or m50-container1-08. Consistent naming makes it easier to find a failed machine in a large farm.
Step 5: add backup pool addresses
Configure the primary endpoint in Pool 1 and alternative endpoints in Pool 2 and Pool 3. Backup entries reduce downtime if the first Stratum server becomes temporarily unavailable.
For a clean profitability test, use regional endpoints from the same pool as backups. If a different provider is configured as failover, part of the hashrate may move there and make the comparison harder to interpret.
Step 6: save the settings and verify shares
Save or apply the configuration. The ASIC may restart its mining process. Do not judge the result immediately: pool-side hashrate needs time to stabilise.
Check the following signals in both the ASIC interface and pool dashboard:
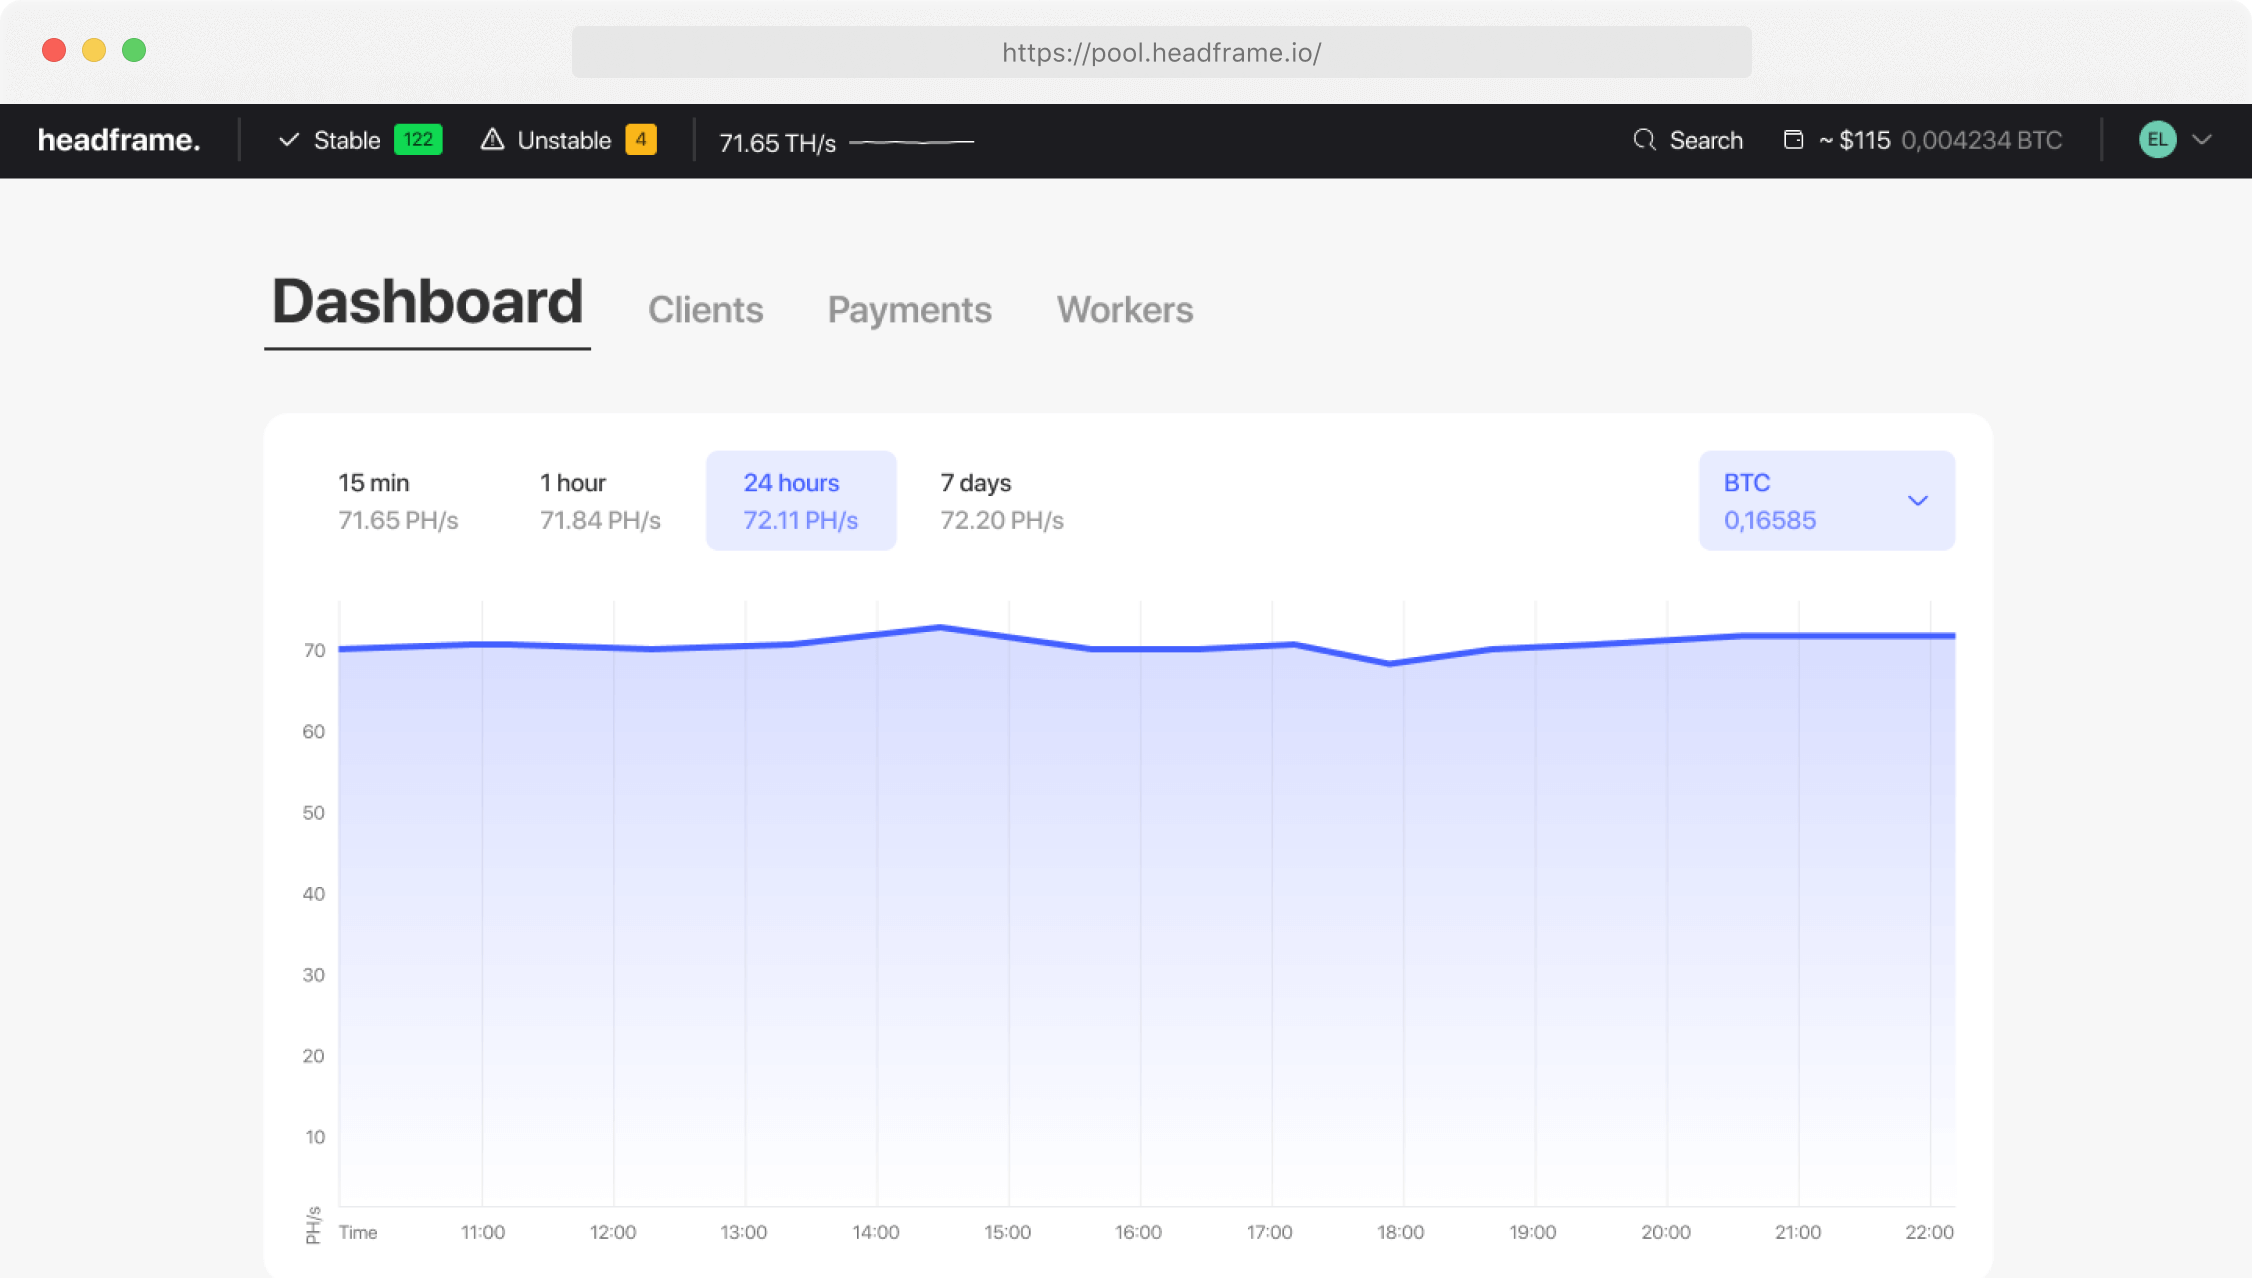
- The worker appears online.
- Accepted shares increase over time.
- Rejected and stale share rates stay low.
- The ASIC reports the expected hashrate without frequent restarts.
- The pool-side average begins moving toward the device’s normal hashrate.
A short difference between real-time ASIC hashrate and the pool average is normal. Investigate persistent gaps, repeated disconnects or a growing rejected-share count.
Step 7: run a controlled 72-hour test
Before switching a farm, connect one ASIC or a small worker group for at least 72 hours. Keep firmware, frequency, power mode and network conditions unchanged. Record accepted shares, rejected shares, credited BTC, payout timing and any periods when the worker went offline.
Create a baseline with the Bitcoin mining calculator. The estimate will not match every short period exactly, but it gives you a consistent reference for comparing pools under the same input data.
Common connection problems
| Problem | What to check |
|---|---|
| Worker remains offline | Confirm the Stratum host, port, worker format and that the settings were saved. |
| Connection timeout | Check internet access, DNS, firewall rules and try another official regional endpoint. |
| Authorisation error | Re-enter the account or wallet address, worker separator and password exactly as shown by the pool. |
| High rejected-share rate | Check latency, overclocking, unstable firmware, hardware errors and the selected server region. |
| Pool hashrate is lower than expected | Wait for the average window to fill, then inspect downtime, rejected shares and ASIC restarts. |
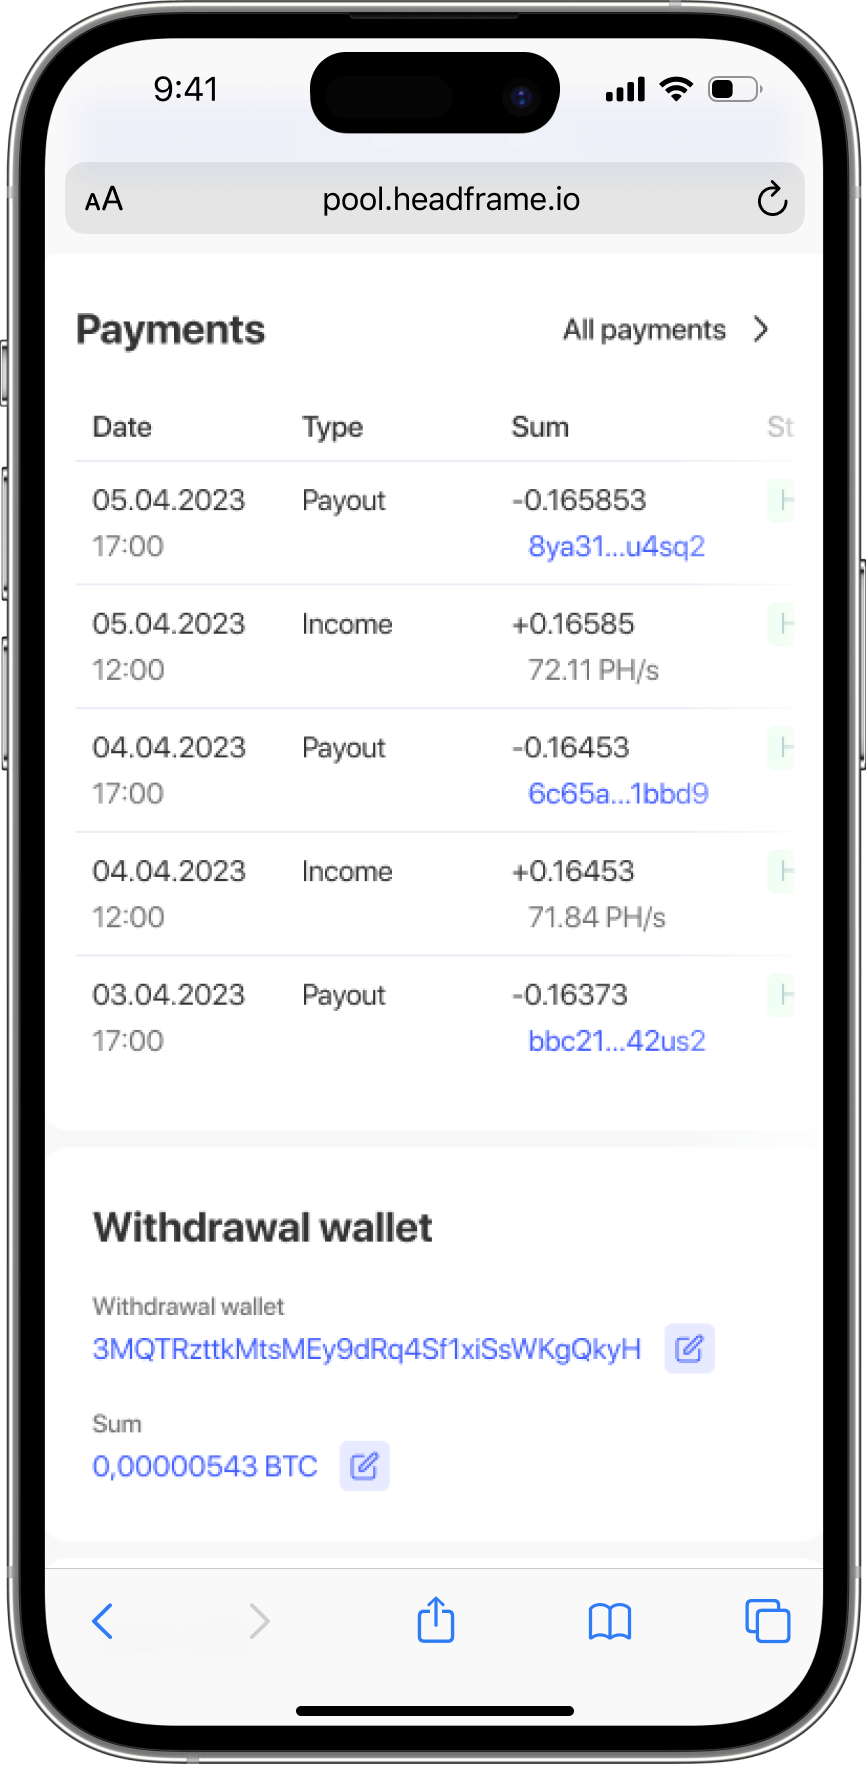
| No payout received | Check the confirmed wallet address, minimum payout, payout schedule and account security holds. |
Frequently asked questions
Can I join a Bitcoin mining pool with one ASIC?
Yes. One ASIC can connect in the same way as a large farm. The main difference is how long it takes to reach the pool’s minimum payout.
How long does it take for a worker to appear?
Accepted shares may appear within several minutes, while average hashrate normally takes longer to stabilise. Check the pool’s averaging window before treating a temporary difference as a fault.
Can I use the same worker name for several ASICs?
Some pools allow it, but unique worker names are better. They let you identify downtime, rejected shares and hardware problems for each device.
Should all three pool slots use different pools?
Not necessarily. For stable operation and clean reporting, the backup slots can use alternative regional endpoints from the same pool. Use another provider only when that failover behaviour is intentional.
Connect one ASIC first
Headframe provides Bitcoin mining with FPPS accounting, a 0.9% pool fee and worker-level monitoring. Create a Headframe account, copy the current Stratum details from the dashboard and begin with one ASIC. After the test, compare the credited result with the Bitcoin mining pool ranking before moving the rest of your hashrate.